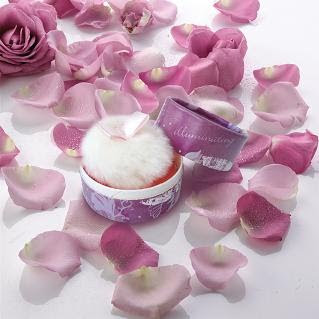
Step 1: You will need
* 1 blusher powder * 1 blusher brush
* 1 tissues
Step 2: Choose a blusher Choose the correct blusher for your skin tone. It is very much personal preference, but there are some general guidelines. Lighter rose and apricot colours suit fairer complexions. Orangey and berry pinks suit darker complexions.
Step 3: Choose a brush Use a medium-sized soft blusher brush with a rounded top. Synthetic brushes tend to molt. The brushes that are supplied with most blushers are too small and stiff and can give blotchy results. If you are going to spend money on a brush, choose sable. Generally natural fibres are best.
 HANDY HINT Wash brushes regularly to keep them clean and in good condition. Make-up artists often wash their brushes in warm water with washing-up liquid and conditioner.
Step 4: Apply base powder Oil or moisture on the skin can cause blusher to streak, so apply a small amount of powder first, as a base.
Step 5: Prepare the blusher brush Evenly swirl the blusher brush in blusher - a little is all that's needed.
 Step 6: Tap off the excess Tap off the excess powder to ensure an even application. Don't blow on the brush to remove the excess, as if moisture reaches the brush, it can cause streaks. You can also rub the brush into a clean tissue to get rid of the excess.
Step 7: Smile Look for the apple of your cheek –this is the fleshiest part that sticks out the most as you smile.
Step 8: Apply the blusher Using very light strokes, apply the blusher to just beneath the apple of the cheek. Build up the colour gradually, so you get exactly the shade you want.
Step 9: Don't over do it!
 If too much is applied you can blend it down evenly with a cotton pad or blot carefully with a tissue.
Step 10: Blend the blusher Blend with the base powder, from the strongest at the cheek, to none at all at the hairline.
Step 11: Check it It's a good idea to check the blusher in the daylight to make sure it's not too heavy.
0 comments:
Post a Comment